
How to Give Access to Google Sheets
📝 How to Give Access to Google Sheets: A Complete Guide for Beginners 📊
Need to share Google Sheets? ✅ Learn how to give access to Google Sheets easily with this step-by-step guide! Updated 2025!
- 🌐 Google Sheets is an incredibly powerful tool for creating and sharing spreadsheets. How to Give Access to Google Sheets Whether you’re collaborating with your team or sharing data with others, giving access to Google Sheets is essential for seamless workflow.
- In this article, we’ll walk you through the easy steps to share your Google Sheets, ensuring everyone has the right access, and you’re in control of your data!
📂 What is Google Sheets and Why Share It? 🖥️
- Google Sheets is a cloud-based spreadsheet program that allows users to create, edit, and collaborate on data in real-time.
- 🌍 Why share Google Sheets? It allows for collaboration, feedback, and teamwork, making it easy to work together on projects without emailing files back and forth.
🛠️ Types of Access You Can Give in Google Sheets 🔐
Before we dive into the steps, it’s important to understand the types of access you can provide. You have three main options when it comes to sharing Google Sheets:
1. Viewer 👀
- People with Viewer access can only view the spreadsheet. They can’t make any changes or leave comments. This is ideal for sharing data read-only.
2. Commenter 💬
- Commenters can view the sheet and add comments, but they cannot edit the actual data. This is perfect for feedback or reviewing data without altering it.
3. Editor ✏️
- People with Editor access have full control to edit, format, and make changes to the spreadsheet. This is ideal for team members who need to collaborate actively.
🖱️ How to Give Access to Google Sheets: Step-by-Step Guide ⬇️
Now, let’s walk through the steps you’ll need to follow to give access to your Google Sheets. 🌟
Step 1: Open Your Google Sheet 🗂️
- Start by opening the Google Sheets document that you want to share.
- 📍 If you don’t have one yet, just go to Google Sheets and create a new sheet.
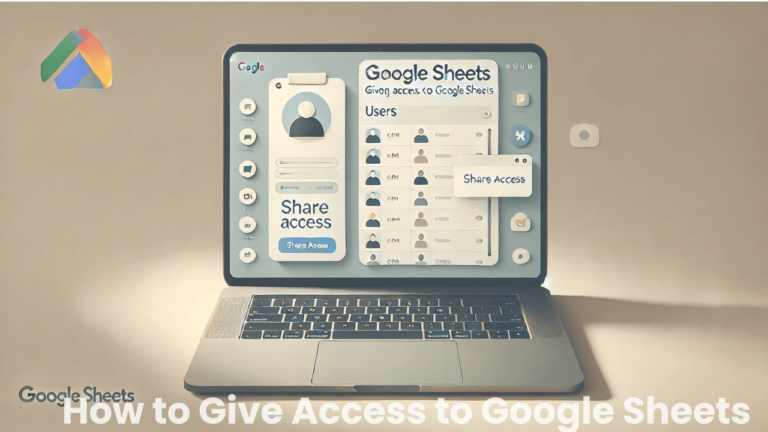
Step 2: Click on the “Share” Button 📤
- In the upper right corner of your screen, you’ll find a blue button that says “Share”. Click on it.
- 🚪 This opens up the sharing settings for your sheet.
Step 3: Enter the Email Address 📧
- In the pop-up window, you’ll see an option to enter email addresses.
- 🔑 You can add individual email addresses of people you want to give access to. If you want to share with a group, simply enter the group email address.
Step 4: Choose the Access Level 🔒
- Now, choose the appropriate access level for each person:
- Viewer: For those who only need to see the document.
- Commenter: For those who need to leave feedback.
- Editor: For those who need full editing capabilities.
- 🛠️ Use the drop-down menu next to each email address to choose the correct permission.
Step 5: Optional: Add a Message 💌
- Optional: Before sending the invitation, you can add a personalized message to let the recipient know what they should be doing with the sheet.
- 📲 Example: “Hi, please review the sales data and leave comments where necessary.”
Step 6: Send the Invitation 🚀
- Once you’ve selected the access level and added any message, click the “Send” button.
- ✉️ The recipient will receive an email with a link to access the Google Sheet.
🛡️ Managing Access: How to Modify or Remove Access Later ✨
You might need to modify or revoke access to your Google Sheets after sharing. Here’s how:
1. Go to “Share” Settings 🖱️
- Click the “Share” button again on the top-right of your sheet.
2. Change Access for Existing Users 🔄
- Next to each person’s email, you can change their access level or remove them entirely.
- 🛑 Click the “Editor” or “Commenter” drop-down to adjust their permissions.
3. Remove Access 🚫
- To remove someone, click on the trash icon next to their email address. They will no longer have access to the document.
🧑🤝🧑 Sharing Google Sheets with a Link 🔗
- If you want to give access to a larger group, or if you don’t have individual email addresses, you can share the sheet using a link.
Step 1: Click on “Get Link” 🔗
- In the Share window, click on the section that says “Get Link”.
Step 2: Choose Access Level 🏷️
- You’ll see options to share the link with anyone who has the link. Select Viewer, Commenter, or Editor.
- 🛠️ If you want to make the sheet public, choose Anyone with the link option.
Step 3: Copy and Share the Link 📋
- After setting the access level, click Copy Link and share it with others via email, chat, or any other platform.
💼 Best Practices for Sharing Google Sheets ✅
Sharing Google Sheets can be super convenient, but it’s essential to follow best practices to ensure your data stays safe and your team collaborates effectively.
1. Limit Editor Access 🚷
- Editors can make major changes, so only grant Editor access to people who truly need it.
- Avoid giving full editing access to those who only need to view or comment.
2. Regularly Review Permissions 🔍
- Review who has access to your Google Sheets on a regular basis.
- ✅ Make sure only active collaborators can access the document.
3. Use Descriptive File Names 🏷️
- Give your Google Sheets clear, descriptive names to avoid confusion.
- 📝 Example: “Q1 2025 Sales Data – Final Version”.
4. Be Cautious with Public Links 🌐
- Be mindful when choosing to make your sheet public via a link. It’s always a good idea to limit access to trusted people to maintain privacy.
🌍 Collaborating Effectively in Google Sheets 💪
Once you’ve shared your Google Sheet, it’s time to collaborate! Here are some tips to work effectively with others:
1. Use Comments and Suggestions 📝
- Encourage team members to use comments and suggestions instead of directly editing the data. This allows everyone to track changes and maintain a history.
2. Track Changes with Version History 🕒
- Google Sheets automatically saves version history. You can view past versions and revert to older versions if needed.
- 🔄 Simply go to File > Version history to see all changes.
3. Use Data Validation for Consistency ✅
- To ensure everyone inputs accurate data, set up data validation rules (like dropdowns) in cells. This ensures that everyone is following the same format.
🔐 Ensuring Security When Sharing Google Sheets 🛡️
While Google Sheets is generally secure, it’s essential to keep some precautions in mind to protect your data:
1. Avoid Sharing Sensitive Data 🔑
- Be cautious when sharing confidential or personal data in Google Sheets.
- Consider using password protection for sensitive files.
2. Use Two-Factor Authentication 🔒
- Enable two-factor authentication for your Google account to add an extra layer of security.
🏁 Conclusion: Mastering Google Sheets Access 📈
- Giving access to Google Sheets is easy and helps you work efficiently with others.
- By understanding the different access levels, following best practices, and ensuring security, you can create a collaborative, productive environment for your team.
- Whether you’re sharing data with colleagues, clients, or friends, Google Sheets has you covered!
🔥 Start Sharing Today! 🚀
- Ready to collaborate on your next project? Go ahead and share your Google Sheet and let the teamwork begin!